Create an Application to Start from SharePoint
To create an application to start from SharePoint, do the procedure in this topic.
New Application Screen
How to Start
- Log in to AgilePoint NX.
- Click Build Apps
 .
. - On the Organizer, click New
 .
.
Procedure
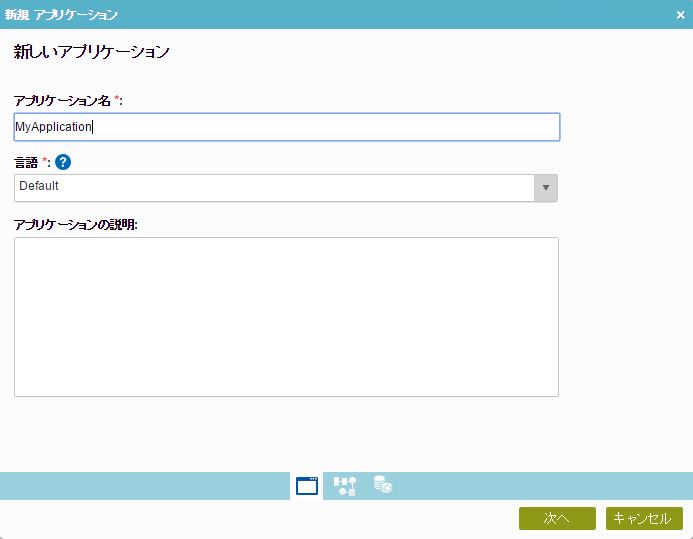
- On the New Application screen, complete these fields:
Field Name Definition Application Name
- Function:
- Specifies a name for your application.
- Accepted Values:
- One line of text that can have spaces.
- Default Value:
- None
Application Description
- Function:
- An optional description for your application.
- Accepted Values:
- More than one line of text.
- Default Value:
- None
- Click Next.
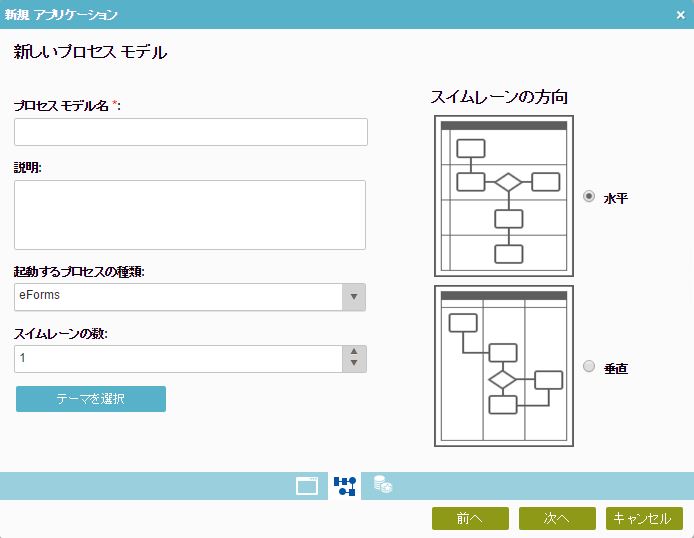
- On the New Process Model screen, complete these fields:
Field Name Definition Process Model Name
Process Description
- In the Process Triggered By field, click SharePoint.
- Complete these fields
as necessary.
Field Name Definition Number of Swimlanes
Swimlanes Orientation
- Function:
- Specifies the direction for your swimlanes.
- Accepted Values:
-
- Horizontal - Shows swimlanes from left to right.
- Vertical - Shows swimlanes from top to bottom.
- Default Value:
- Horizontal
Choose Theme
- Opens this Screen:
- Choose Process Model Theme
- Function of this Screen:
- Specifies a color and icon you can use to identify your process at certain places in AgilePoint NX. For example, in your applications list in App Builder, this can help you to quickly see the application you want.
- Click Next.
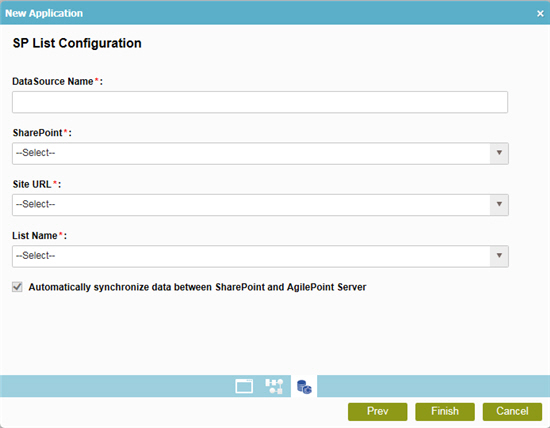
- On the SharePoint List Configuration screen, complete these fields
as necessary.
Field Name Definition Data Source Name
- Function:
- Specifies the name of the data source for SharePoint.
- Accepted Values:
- One line of text that can have spaces.
- Default Value:
- None
SharePoint
- Function:
- Specifies the access token that connects to your SharePoint site.
- Accepted Values:
- A list of access tokens configured for your environment.
- Default Value:
- None
- Accepts Process Data Variables:
- No
Site URL
List Name
Automatically synchronize data between SharePoint and AgilePoint server
