To add a user to AgilePoint NX with an AgilePoint ID, do the procedure in this topic.
Good to Know
- The nxone domain is shared across all tenants in the public cloud. If the user name you want is not available, you will be prompted with a message when you click Add User. You must find a user name that is unique.
- If Auto Sync is enabled on the Admin Settings screen, new users can automatically sign in with the enabled authentication providers. In this case, users do not need to be added using their AgilePoint IDs.
How to Start
- Click Settings
 .
. - Click Admin Settings
 .
.
Procedure
- On the Admin Settings screen, in the Add Users - Single User field,
click click here.

- On the Create New User screen screen that opens in a new tab,
complete these fields
as necessary.
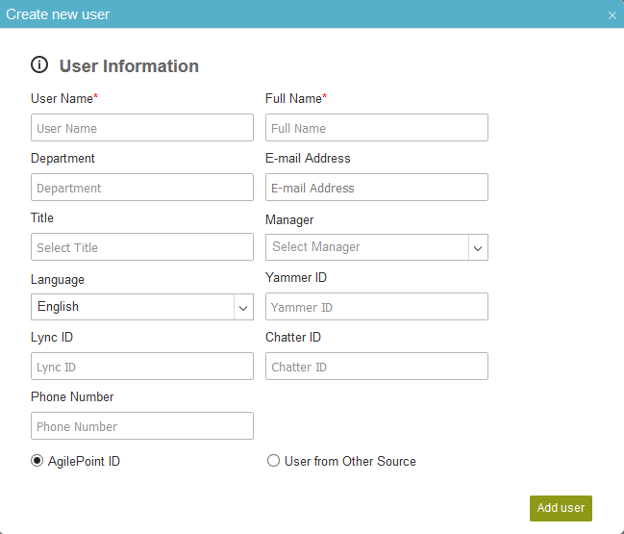
Field Name Definition User Name
- Function:
- Specifies your user name in AgilePoint NX.
- Accepted Values:
- One line of text that can have spaces.
- Default Value:
- None if you register with AgilePoint ID.
If you register with an external authentication provider, this field shows the information from your external account.
Full Name
Department
E-mail Address
- Function:
- Specifies the user's e-mail address.
- Accepted Values:
- A valid e-mail address.
- Default Value:
- None
Title
Manager
Language
Yammer ID
Lync ID
Chatter ID
Phone Number
- Opens this Screen:
- Specifies the user's phone number.
- Accepted Values:
- A number string.
- In the User Authentication Type field, select AgilePoint ID and click Add User.
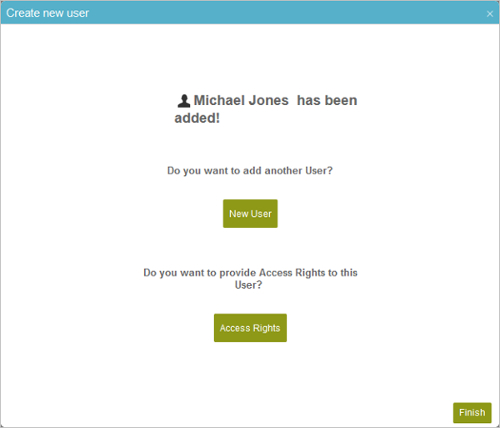
- (Optional) On the New User Added screen,
click Access Rights to add user to applicable roles. By default, all registered users are added to the role Users in the system.
- (Optional) On the New User Access Rights screen, select the roles for the user.
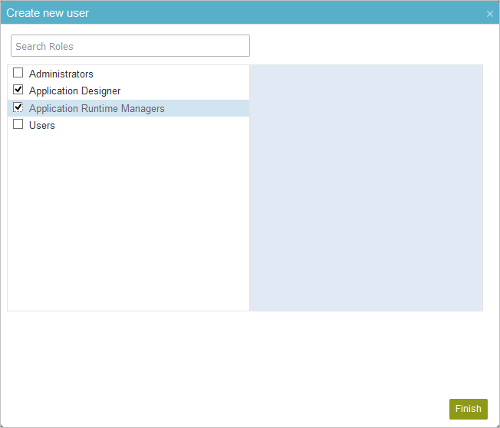
- Click Finish.
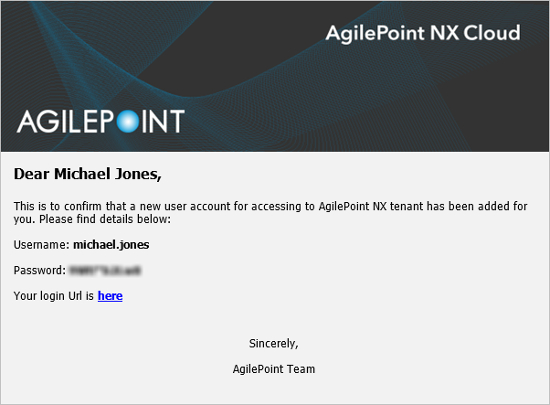
The AgilePoint NX system sends new users the
AgilePoint NX New User Confirmation e-mail with a system-generated password to the e-mail addresses in their user profiles.